
Enemies
Survive a Million Monkeys enemy guide — Standard, Brute, Red Exploding and White monkeys with behaviors, cash rewards and counter tactics for each wave.
Introduction
The enemies category breaks down the monkey horde you fight in every Survive a Million Monkeys run. The base threat is the endless wave clock itself — the monkey count climbs every wave until the squad is overrun — but the horde is not one uniform blob. Standard monkeys flood the field, Brute monkeys soak damage and demand focus fire, Red Exploding monkeys detonate on contact, and White monkeys behave differently enough to change how you position. Each variant pays different Cash rewards, which is why knowing your horde is also an economy strategy: shoot the monkeys that pay, and neutralize the ones that kill you faster than you can farm.
Monkey Variants Quick Reference
| Enemy | Behavior | Cash Reward |
|---|---|---|
| Standard Monkey | Basic horde fodder that floods every wave | 10 |
| Brute Monkey | Larger, tougher monkey that soaks up damage | 40 |
| Red Exploding Monkey | Detonates on death or contact — keep distance | 25 |
| White Monkey | Special variant with unique behavior and payouts | 30 |
| Endless Waves | Monkey count climbs every wave until the squad is overrun | Scaling |
Horde Field Guide
Standard Monkey
The flood — basic fodder that gives the horde its terrifying numbers.
Brute Monkey
The wall — a larger monkey that soaks damage and blocks your lane.
Red Exploding Monkey
The trap — detonates on contact or death, punishing greedy positions.
White Monkey
The wildcard — a special variant with unique behavior and payouts.
Endless Waves
The true endgame — a wave system that never stops scaling until you wipe.
Core Mechanics
Enemy mechanics are built on a simple pressure ramp: every wave, the monkey count climbs, so the horde pushes harder even when your weapon stays the same. Each variant adds a different failure mode — standard monkeys punish poor aim with raw numbers, Brutes punish weak weapons by absorbing your damage, Red Exploding monkeys punish greedy positioning with area damage, and White monkeys keep the roster unpredictable. Cash rewards are tied to kills, so the economy naturally rewards the waves you survive longest: deeper waves carry more monkeys and better payouts, but the variants also mix in more dangerous combinations. The endless wave system is therefore both the enemy and the farming engine.
Key Advantages
Knowing the horde is the cheapest defense in the game. This category tells you exactly which monkey pays what, so you can prioritize targets in a way that boosts both survival and income. The counter tips turn knowledge into action — kill Red Exploding monkeys at range, focus Brutes before they reach your line, and respect White monkeys’ special behavior. The card grid also separates farming value from threat value, so players who want Gems know when a wave is a payday and when it is a trap. Pairing the threat table with the cash column also turns farming into a priority list: you know exactly which kills pay your upgrades and which kills just buy breathing room, so every focus-fire decision is backed by the actual economy.
Challenges & Weaknesses
Unaudited community data means the exact Cash reward numbers are estimates from the sources and may drift with balance patches. The special behavior of White Monkey is deliberately vague — the wiki does not invent mechanics where only community observation exists, so the description stays high-level until more data is available. Finally, deep-wave variant mixes can create combinations that no single counter sheet fully predicts, so treat the field guide as a strong baseline, not a guaranteed script for every spawn. The wiki also deliberately avoids publishing exact spawn patterns because none are officially confirmed, choosing instead to describe behaviors in a way that stays true even when the game tweaks wave composition, so treat the numbers as a stable baseline rather than a promise.
Frequently Asked Questions
Which monkey should I kill first?+
Do monkeys pay more in later waves?+
What is the best way to handle Red Exploding monkeys?+
Quick Tips
Kill Red Exploding monkeys at range in every wave — the 25 Cash is not worth the risk of a detonation close to your team. A single careless melee can take out half a squad and all the turret investment you placed for the wave. The safest habit is to make every exploding monkey a ranged target before you think about anything else in the wave.
Use the Brute Monkey’s slow speed as a timer: when a Brute appears, you have a few extra seconds to refresh your weapon tier and reposition before the main horde arrives. Treat it as a warning sign that the pressure is about to spike, not just a tanky target. Use that pause to refresh your weapon tier and reposition, because the following wave will always bring more pressure than the one you just survived.
Because monkey counts climb every wave, never stand still more than a wave — the horde will out-pace any static position. Keep a retreat line toward your turrets, and if the count feels overwhelming, that is your cue to burn an Ultimate rather than save it for the next wave.
Featured

Survive a Million Monkeys Monkey Island Map Guide
Explore the survive a million monkeys monkey island layout, every monkey variant and color that spawns there, and how special monkeys change your first wave route.
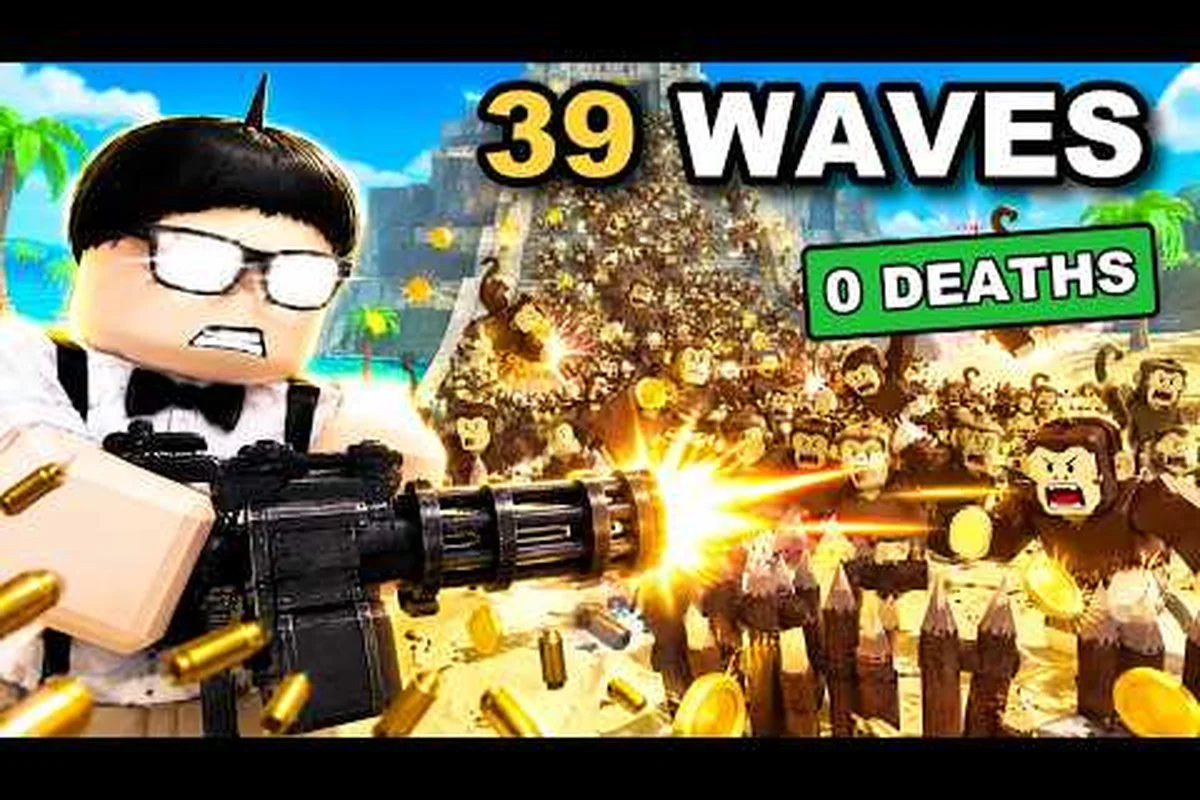
Survive a Million Monkeys Monkey Types Explained
Identify every survive a million monkeys monkey types entry, from normal and brute monkeys to big and exploding variants, so you know what each enemy does.

Survive a Million Monkeys Red Monkey & Elite Bosses
Compare the survive a million monkeys red monkey against white, elite, and boss monkeys, then learn how wave numbers determine which threats spawn next.
All Articles
Survive a Million Monkeys Exploding Monkey Damage
Break down survive a million monkeys exploding monkey damage, the white monkey special, and the exact weakness you can exploit to survive the horde in any wave.
Survive a Million Monkeys High Waves Enemy HP
See how survive a million monkeys high waves scale monkey HP, spawn density, and horde size so you know exactly which enemies to prioritize past wave 50.

Survive a Million Monkeys Monkey Horde Spawn Guide
Understand how the survive a million monkeys monkey horde spawns endless enemies, with the full enemy list and spawn patterns that decide each wave.

Survive a Million Monkeys Monkey Speed & Cash Rewards
Compare survive a million monkeys monkey speed tiers to see which enemy outruns you and which cash reward makes targeting the fastest monkey worth the risk.