
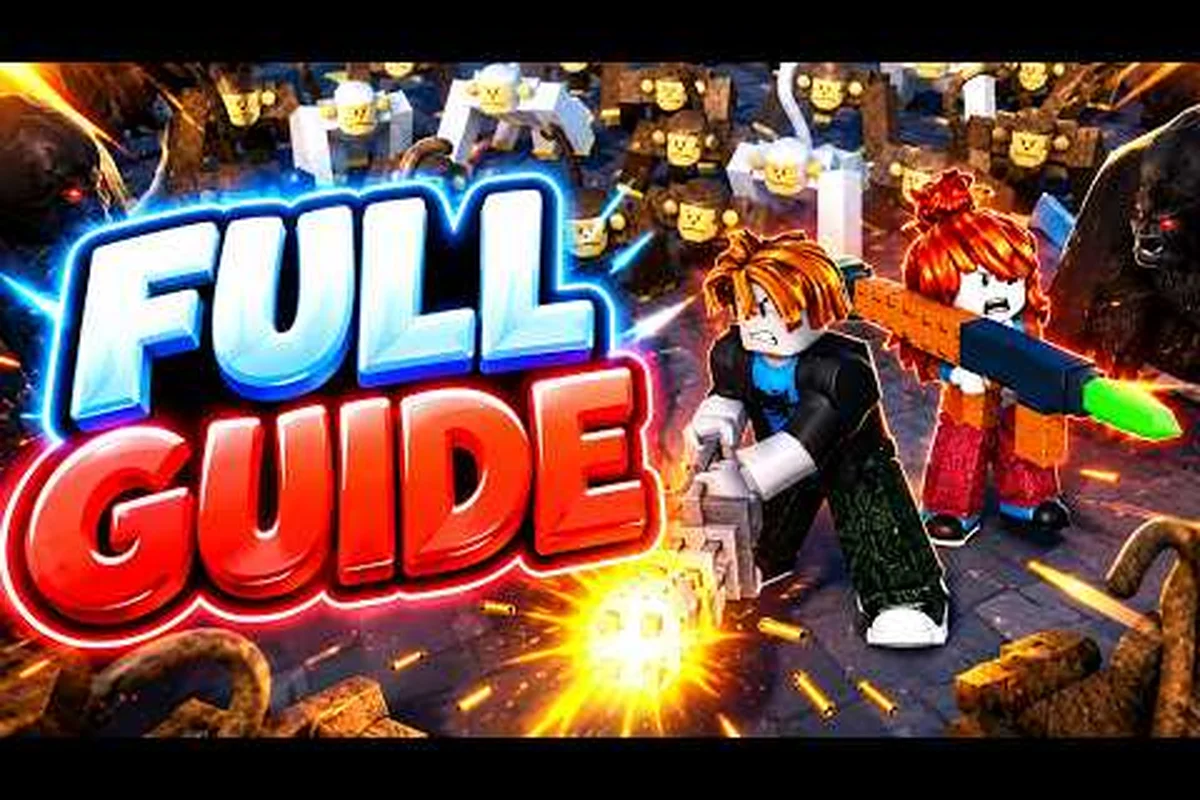
Your first hour in Survive a Million Monkeys decides whether you bank enough Gems to unlock real progression or restart with nothing. This survive a million monkeys game guide focuses on the opening loop: earning Cash, raising your weapon tier, and placing turrets before the rabid waves overwhelm the island. According to the official Roblox page, the game has passed 8.2 million visits with a 96.9% positive rating, which means the core loop works, but only if you understand what to do first.
The Cash-to-Survival Foundation of Runs
The foundation of every successful run in this survive a million monkeys roblox guide is the Cash-to-survival cycle. You earn Cash during a run by eliminating monkey waves, and that Cash converts into immediate power: higher weapon tiers, more health, and defensive structures like turrets or barricades. The loop resets when you die, but the Gems you bank in the hub persist, which is why your first hour matters more than any later session.
The island survival shooter structure means you are not just shooting targets. You are managing space, threat priority, and resource timing simultaneously. Community reports consistently describe the first waves as deceptively easy, which lulls new players into saving Cash instead of spending it. That hesitation is the single most common reason runs end before the ten-minute mark.
| Wave Phase | Monkey Behavior | Recommended Response |
|---|---|---|
| 1–3 | Sparse, slow singles | Build Cash, stay mobile |
| 4–6 | Small groups from two sides | Raise weapon tier once |
| 7–9 | Fast flankers appear | Place first turret |
| 10+ | Mixed swarms with pressure spikes | Barricade chokepoints, keep upgrading |
The table above reflects general community testing rather than official patch notes, so timing may shift slightly with future updates. What remains constant is the principle: spend early to survive later. Players who treat the first hour as a farming phase rather than a survival phase consistently bank fewer Gems per session.
Why Early Spending Beats Saving
The temptation to hoard Cash comes from other Roblox survival games where currency carries between runs. In Survive a Million Monkeys, Cash is run-local, which means unspent Cash disappears when you die. Gems are the persistent currency, and you earn them by surviving longer, not by ending a run with a fat Cash balance.
A practical rule from veteran players is to keep a small buffer for emergencies but never let your weapon tier lag behind the current wave. If wave six is spawning groups from multiple angles and you are still on the starter weapon, the run is already lost. The starting guide covers early-game priorities in more depth, but the core lesson is identical: convert Cash into power immediately.
What to Do First in Your Opening Run
The question of survive a million monkeys what to do first has a clear answer: learn the map, then commit to a defensive position. Your opening minutes should be spent identifying where monkeys spawn, which routes they take toward you, and where natural chokepoints exist. Rushing to the center of the island feels aggressive, but it exposes you to attacks from every direction.
Instead, find a corner or elevated position with limited approach angles. This reduces the number of simultaneous threats you face and makes turret placement dramatically more effective. A turret covering one narrow corridor does more work than a turret in open ground trying to track enemies in a full circle.
| First Hour Priority | Action | Expected Outcome |
|---|---|---|
| 1. Map awareness | Circle the island once | Identify spawn points and chokepoints |
| 2. Position lock | Choose a defensible corner | Fewer attack angles to manage |
| 3. Weapon tier 2 | Spend first Cash on upgrade | Kill speed matches wave scaling |
| 4. First turret | Place at primary chokepoint | Passive damage while you reposition |
| 5. Health buffer | Buy one health upgrade | Survive one extra hit from flankers |
This sequence is not rigid, but it reflects the most consistent opening pattern reported by players who regularly reach wave fifteen or higher. The key insight is that positioning and weapon tier come before any fancy purchases. A player with a tier-two weapon in a good corner survives longer than a player with a tier-three weapon standing in the open.
Map Awareness Before Combat
The first ninety seconds of any run should be reconnaissance, not combat. You can kite the initial monkeys while you explore, since they are slow and deal minimal damage. Use this window to memorize where the island narrows, where obstacles block movement, and where you can retreat if a wave spawns behind you.
This knowledge compounds across runs. After three or four sessions, you will instinctively know which corner to hold on each map variant, and your survive a million monkeys first hour efficiency will jump dramatically. Players who skip reconnaissance and immediately start shooting often find themselves trapped against terrain with no escape route by wave eight.
Putting Early Cash Into Weapon Tiers
Your weapon tier is the single most important Cash sink in the early game. Each tier increase raises your damage output, which directly translates to faster wave clears and fewer monkeys reaching your position. The official Roblox page confirms that raising weapon tier is one of the core Cash uses during a run, alongside health boosts and defensive structures.
The mistake most new players make is spreading Cash too thin across all three categories. A tier upgrade, a health boost, and a turret all feel valuable, but buying all three at low levels leaves you mediocre at everything. Focus on weapon tier first, because dead monkeys cannot damage you.
| Cash Investment | Early Value | Late Value | Priority |
|---|---|---|---|
| Weapon tier | High | High | First |
| Turret | Medium | High | Second |
| Barricade | Low | High | Third |
| Health | Medium | Medium | Situational |
| Ammo/utility | Low | Medium | Last |
The priority order shifts as runs extend. By wave twelve, barricades become essential because monkey density overwhelms even a maxed weapon. But in your first hour, weapon tier and one well-placed turret will carry you further than any other combination. The run guide breaks down wave-by-wave progression if you want to optimize beyond the opening phase.
When to Buy Health Instead of Damage
Health upgrades feel safe, which is why new players overvalue them. The problem is that health does not reduce the number of monkeys reaching you; it only delays the consequence of being overwhelmed. Weapon tier and turrets reduce incoming pressure, which is a more efficient form of survivability.
The exception is when you are consistently dying to a single flanker hit rather than a swarm. If your positioning is solid and your damage is adequate, one health upgrade can prevent those frustrating one-shot deaths. But if you are being swarmed, more health only extends the inevitable. Fix the pressure problem first, then add health as a buffer.
Turret and Barricade Placement Fundamentals
Turrets are your passive damage backbone, and their placement determines whether they earn their cost. A turret in open ground wastes shots tracking monkeys across a wide arc, while a turret covering a narrow corridor concentrates fire and kills faster. The same principle applies to barricades: they only help if they force monkeys into your kill zone.
The best turret positions are at chokepoints where monkeys must funnel through a narrow gap. Place the turret slightly behind the gap so it has a clear line of sight but is not immediately swarmed. If monkeys can reach the turret and destroy it, you have placed it too far forward.
| Structure | Best Placement | Common Mistake |
|---|---|---|
| Turret | Behind a chokepoint | Placing in open ground |
| Barricade | In front of your position | Blocking your own escape route |
| Turret + barricade combo | Turret covers gap, barricade slows entry | Stacking both in same spot |
Community testing consistently shows that a single well-placed turret outperforms two poorly placed ones. The same logic applies to barricades: one barricade that funnels monkeys into your turret's line of fire is worth more than three barricades scattered randomly. Think in terms of kill zones, not just coverage.
Creating a Kill Zone
A kill zone is any area where your weapon, your turret, and the terrain all work together to maximize damage output. The simplest kill zone is a narrow corridor with your turret at the far end and you standing behind it. Monkeys entering the corridor take turret fire while approaching, then your weapon fire as they close the distance.
Barricades extend the kill zone by slowing monkey movement through it. A barricade placed at the corridor entrance forces monkeys to pause and attack it, giving your turret more time to deal damage. This combination is the core defensive pattern that carries runs past wave fifteen, and it is the reason turret placement matters more than turret quantity.
How Long Can You Survive a Million Monkeys
The question of how long can you survive a million monkeys depends less on raw skill and more on how efficiently you convert Cash into layered defense. Community reports suggest that most new players die between waves eight and twelve during their first few sessions, while players who follow a structured opening routine regularly reach wave twenty or beyond.
The gap comes from compounding advantages. A player who spends Cash early survives longer, which earns more Cash, which funds more upgrades, which extends the run further. A player who saves Cash dies earlier, earns less, and never builds momentum. The first hour is where this compounding either starts or stalls.
| Player Type | Typical First-Hour Result | Average Waves Survived |
|---|---|---|
| Reactive spender | Dies with unspent Cash | 6–9 |
| Balanced spender | Survives to mid-game | 12–18 |
| Aggressive optimizer | Reaches late waves | 20+ |
These ranges come from community data and may vary by platform or update. The pattern is consistent, though: aggressive early spending correlates with longer runs. Players who treat Cash as a tool to be used immediately, rather than a resource to be conserved, consistently outperform those who hesitate.
The Compounding Advantage
The reason early spending dominates is simple: every Cash investment pays dividends in survival time, which generates more Cash. A weapon tier upgrade at wave three might cost most of your current Cash, but it lets you clear waves four through seven faster, which earns back the investment and more.
This is why the survive a million monkeys first hour is so critical. The decisions you make in the first ten minutes determine whether you enter a positive feedback loop or a death spiral. Players who understand this dynamic stop asking what to do first and start executing the sequence automatically.
Gems, the Hub, and Persistent Progression
Gems are the currency that persists between runs, and they are the reason you keep coming back to the island. The official Roblox page confirms that you bank Gems in the hub after surviving, which means every run contributes to long-term progression even if you die early. Understanding how Gems work is essential for setting realistic first-hour goals.
Your first hour should not be about maximizing Gems per run. It should be about learning the loop well enough to survive consistently, because consistent survival is what generates Gems. A player who survives to wave fifteen every run banks more Gems per hour than a player who occasionally reaches wave twenty-five but dies early most of the time. The gems guide explains what to spend Gems on once you start accumulating them.
| Gem Source | Reliability | First-Hour Relevance |
|---|---|---|
| Surviving waves | High | Primary source |
| Milestone rewards | Medium | Secondary |
| Special events | Low | Ignore initially |
The hub is where you spend Gems on permanent upgrades that make every future run easier. This is the meta-progression layer that keeps the game engaging beyond the first few sessions. Your first hour is about building the foundation that makes Gem farming efficient.
Setting Realistic First-Hour Goals
Your goal for the first hour is not to become a top-tier survivor. It is to internalize the core loop: earn Cash, spend Cash on weapon tier and turrets, survive to bank Gems, repeat. If you can consistently reach wave twelve by the end of your first hour, you are ahead of most new players.
The beginner guide covers the broader learning curve, but the first-hour focus is narrow: map awareness, early spending, and kill zone setup. Master these three elements and the rest of the game opens up naturally.
Frequently Asked Questions
What should I spend my first Cash on in Survive a Million Monkeys?
Your first Cash should go to a weapon tier upgrade, because faster kills reduce incoming pressure more efficiently than health or barricades. After that, place a turret at a chokepoint. Health upgrades come later, once your damage output is sufficient to handle the current wave density.
How long does a typical first run last?
Most new players die between waves eight and twelve during their first few sessions. Players who follow a structured opening routine, spending Cash early on weapon tier and turret placement, regularly reach wave fifteen or higher. The gap comes from compounding advantages that build momentum across the run.
Do I lose everything when I die?
You lose all Cash and run-specific upgrades when you die, but Gems persist. Gems are banked in the hub after each run and can be spent on permanent upgrades that make future runs easier. This means even short runs contribute to long-term progression.
Is it better to play solo or with others?
Solo play is viable and often easier to learn, because you control all Cash spending and turret placement. Group play splits resources and requires coordination, but it can handle higher wave densities. Start solo to learn the loop, then experiment with groups once you understand the fundamentals.
What is the biggest mistake new players make?
The biggest mistake is saving Cash instead of spending it. Cash is run-local and disappears when you die, so hoarding it provides no benefit. Players who convert Cash into weapon tier and turrets immediately survive longer, earn more Cash, and bank more Gems per hour.