
Tier List
Survive a Million Monkeys class tier list — Outlaw, Juggernaut, Bomber and the rest ranked by solo clear speed, co-op value and late-wave viability.
Introduction
The tier list category ranks every Survivor a Million Monkeys class in the current meta so you can spend your Gems where they pay off. Because classes are expensive and weapon upgrades cost even more, knowing whether to unlock Bomber or hold out for Outlaw matters more than any single tip in the game. This hub covers the S-tier power pick, the A-tier workhorses, and the reliable-but-slower support classes, with the reasoning behind each placement — clear speed, survivability, co-op value and late-wave pressure. Since balance patches shift placements, every entry is dated and the Updates category tracks the patch notes that move the meta.
Class Tier List (Current Meta)
| Tier | Class | Why It Ranks Here |
|---|---|---|
| S | Outlaw | Legendary kit with the strongest abilities in the game |
| A | Juggernaut | Huge health pool and Warpath demand high investment but carry deep waves |
| A | Bomber | Blast Dash melts grouped hordes and speeds up farming |
| B | Engineer | Strong when turrets and barricades are upgraded |
| B | Medic | Team support shines in co-op runs |
| C | Survivor | Reliable default but the weakest special kit |
Tier Reasoning
S Tier — Outlaw
The legendary endgame class with the best abilities in the game and an absurd ceiling.
A Tier — Juggernaut
Expensive but unkillable — the tank that turns deep waves from a wipe into a grind.
A Tier — Bomber
Blast Dash melts grouped hordes — the best value per Gem in the current meta.
B Tier — Engineer
Turrets and barricades make it a win-more class that rewards invested teams.
B Tier — Medic
Code Blue saves runs in co-op but cannot match damage classes in solo.
C Tier — Survivor
The free default with the weakest special kit — reliable, but outclassed.
Core Mechanics
The tier list is built from the same game systems every other category relies on: classes, weapons and wave pacing. Placements weigh four factors — clear speed, survivability, co-op value and late-wave pressure — against the Gem cost of each unlock. S and A tiers are the classes that either clear fast, never die, or both; B tiers are situationally strong for teams; C tier is the free default that works but lacks a real kit. Because Roblox balance patches can move any of these instantly, the list is always dated, and each entry cross-links to the full class guide where the mechanics and unlock math are explained in depth.
Key Advantages
The tier list gives you a Gem-spending order instead of a random unlock: you see that Bomber is the best value-per-Gem pick for early players, that Juggernaut is a capstone purchase, and that Outlaw should only come after your weapon roster is solid. The reasoning behind each placement — not just the letter — lets you translate the list to your own playstyle. Solo and co-op contexts are separated, and the S/A/B/C badges make the list scannable at a glance while the card grid provides the deeper rationale for every rank.
Challenges & Weaknesses
Tier lists are the most time-sensitive content on the wiki: a single class balance patch can move an entry a full tier the day after publication. The community sources used here may also disagree with pro players on niche matchups, especially for support classes whose value depends on team composition. Finally, the list ranks classes in an average scenario — a Medic in a great co-op team outperforms a solo Bomber, but the letter alone would not tell you that, so always read the reasoning card alongside the badge.
Frequently Asked Questions
Why is Outlaw S tier when it costs so much?+
Is Medic actually good?+
How often should I re-check the tier list?+
Quick Tips
Read the Gem cost column before the tier badge — Outlaw can be S tier while being the wrong purchase for a new player. For most accounts the highest-EV order is: free Survivor → Bomber → Juggernaut → weapons → Outlaw, rather than chasing the letter first. So treat the list as a starting conversation with the meta, not a permanent verdict, and always read the reasoning before you spend.
Separate solo from co-op when judging classes. Medic and Engineer rankings in this list assume team context; a solo player should weight Bomber and Survivor higher than their letters suggest, because no allies means no revives and no turret funnel. The extra wave you survive from a tanky pick usually pays back more Gems than the faster clear you sacrifice.
After every balance patch, re-check the Updates page before trusting any tier placement. A single buff can move a class a full tier, and teams that watch Discord announcements adapt while everyone else is still grinding the old meta. Teams that adapt on patch day farm the new meta while everyone else is still grinding the old placements.
Featured
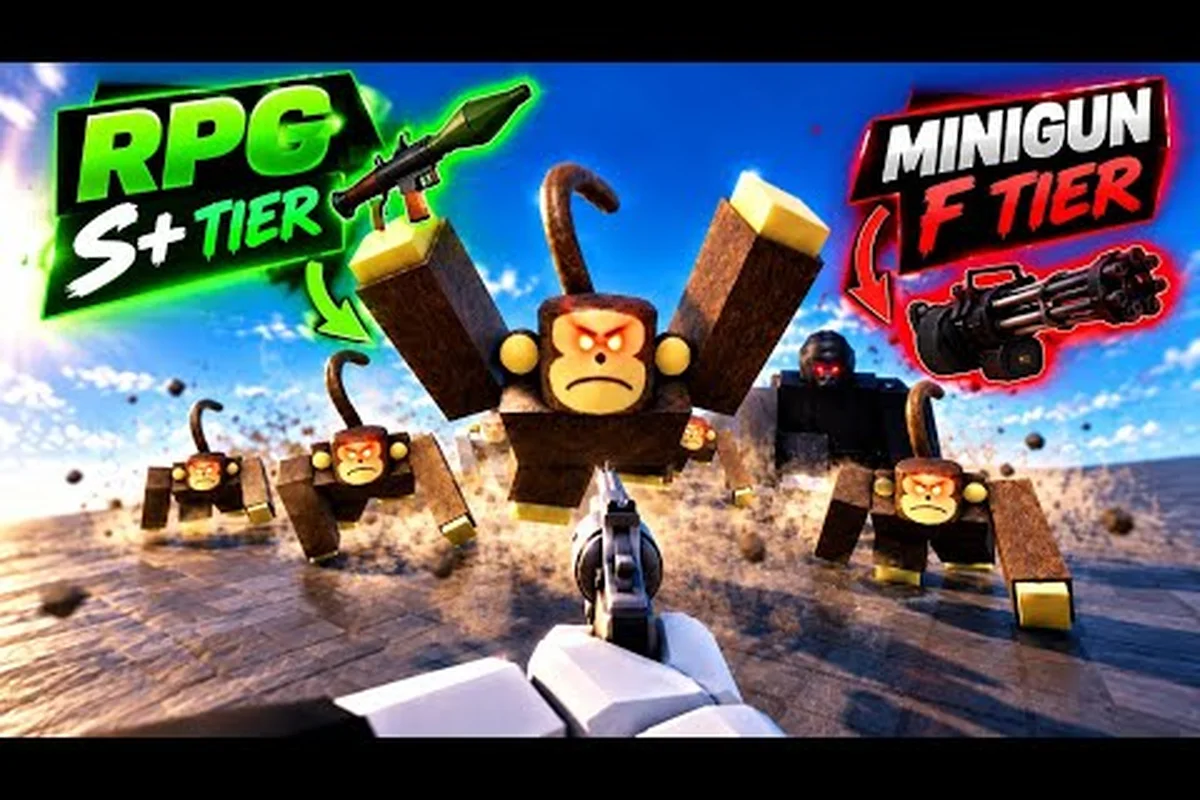
Survive a Million Monkeys Tier List Meta Picks Order
See the full survive a million monkeys tier list ranking every class and weapon from S tier to skip, so you know exactly what to unlock first for wave 50+ runs.
Survive a Million Monkeys Tier List October 2026
Check the survive a million monkeys tier list october 2026 update to see which overpowered class and strongest weapons now dominate the meta after the latest patch.
Survive a Million Monkeys Weapon Power Ranking 2026
Study the survive a million monkeys weapon power ranking from epic Deagle to legendary tier, and learn which best solo or co-op class pairs with each weapon.
All Articles

Survive a Million Monkeys B Tier Classes Wave Strategy
Rank every survive a million monkeys b tier classes pick against C tier and meta classes, with the exact builds that still clear wave 50+ runs without wasting gems.

Survive a Million Monkeys What Weapon Is Best? Meta
Answer survive a million monkeys what weapon is best with a full tier list guide covering S tier weapons, endgame picks, and the meta that dominates late waves.
Survive a Million Monkeys Best Guns for Wave 50+
Compare the survive a million monkeys best guns against top tier weapons and meta classes, then lock in the strongest build for solo wave 50+ runs.