
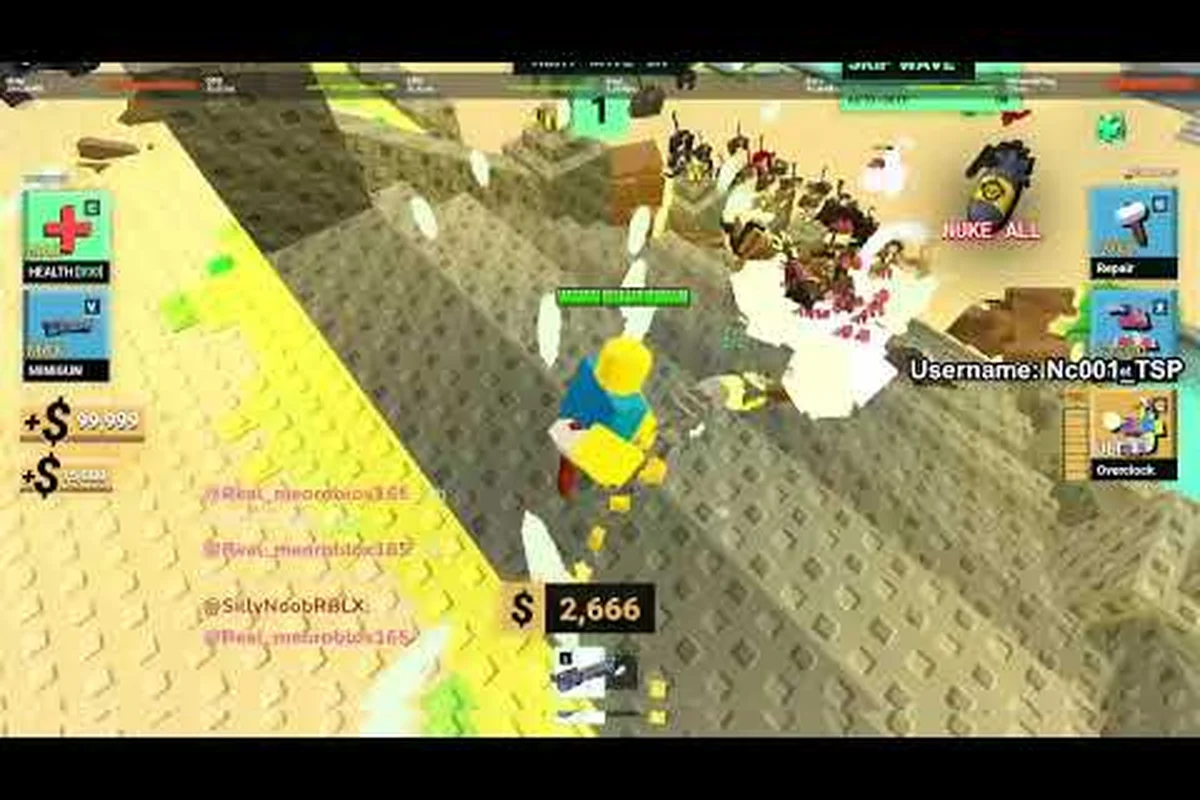
Cash disappears fast in Survive a Million Monkeys, and a single bad in-run purchase can end a promising wave chain before the first elite pack arrives. Understanding which survive a million monkeys cash upgrades actually return value separates players who consistently reach deep wave counts from those who stall around the mid-game spike. This guide breaks down upgrade priorities, cash-to-gem tradeoffs, and the exact moments when a gem boost outperforms another weapon tier.
The In-Run Cash Upgrade System
Every run in Survive a Million Monkeys starts with a clean slate: you earn cash by clearing waves, and you spend that cash on temporary in-run upgrades that vanish when the run ends. Gems, by contrast, persist between runs and unlock permanent progression in the hub. This split creates a constant tension between short-term power and long-term account growth, and most players misread it early on.
The core loop is straightforward but punishing. Cash drops from defeated monkeys, with elite enemies and boss waves contributing disproportionately larger amounts. You then choose between damage, attack speed, movement, survivability, and utility upgrades offered at intervals. Because the shop refreshes with limited options, you cannot always buy the exact upgrade you want, which forces you to evaluate opportunity cost constantly.
| Cash Upgrade Type | Effect During Run | Typical Value Window | Risk Level |
|---|---|---|---|
| Damage Boost | Increases base weapon damage | Early to mid-game | Low |
| Attack Speed | Reduces time between attacks | Mid to late-game | Low |
| Movement Speed | Improves repositioning and kiting | Entire run | Medium |
| Max Health | Raises survivability ceiling | Late-game | Medium |
| Utility / Cooldown | Lowers ability cooldowns or adds effects | Build-dependent | High |
The table above reflects general community consensus, but actual value shifts based on your class and weapon tier. A melee-focused class gains more from movement speed and health than a ranged build that can safely stack damage from a distance. Because cash is finite, you need a clear priority framework before the shop appears.
Survive a Million Monkeys Upgrade Priorities for the First Ten Waves
The first ten waves set the foundation for everything after. Most failed runs trace back to scattered early spending rather than a single catastrophic choice. You want to establish a baseline of damage first, then layer survivability as enemy density increases.
Damage Boost is the safest opening purchase in nearly every scenario. Clearing waves faster means more cash per minute, which compounds into more upgrades later. If you skip early damage, you fall behind the wave scaling curve and end up spending cash reactively on health just to survive, which is a losing spiral.
Attack Speed becomes valuable once your base damage is high enough that faster hits translate into meaningful DPS gains. On low-damage weapons, attack speed alone does little because each hit still deals minimal damage. The upgrade priority shifts once you have at least two damage boosts stacked.
| Wave Range | Primary Priority | Secondary Priority | Avoid |
|---|---|---|---|
| 1–5 | Damage Boost | Movement Speed | Utility / Cooldown |
| 6–10 | Attack Speed | Max Health | Low-impact utility |
| 11–15 | Survivability mix | Damage or Speed | Over-investing in one stat |
| 16+ | Build-specific scaling | Cooldown / Utility | Ignoring movement |
Community testing suggests that players who reach wave 15 consistently spend roughly 60–70% of early cash on damage and attack speed combined. The remaining budget goes to movement speed and a single health buffer. This ratio keeps you ahead of the scaling curve without leaving you fragile against elite bursts.
How to Spend Cash Wisely When the Shop Offers Bad Options
The shop does not always cooperate. Sometimes you get three utility upgrades that do nothing for your current build, and the temptation is to buy something just to feel productive. That instinct is exactly what drains your cash pool and leaves you underpowered when a good option finally appears.
The correct move is often to skip. Holding cash for one or two shop refreshes is not wasted time; it is strategic patience. Because the shop cycles through a limited pool, a skipped purchase increases the probability that a damage or attack speed option appears next cycle. This is especially true in the mid-game when utility upgrades start cluttering the pool.
Movement Speed is the most underrated fallback purchase. Even when it does not directly increase your DPS, it enables you to dodge elite attacks, reposition for better weapon coverage, and collect cash drops faster. A single movement upgrade can prevent more damage than a health upgrade because you simply stop getting hit.
-
Skip utility upgrades unless they directly enable your class passive or weapon synergy.
-
Hold cash through one bad shop cycle instead of buying a low-impact stat.
-
Prioritize movement speed when damage and attack speed are unavailable.
-
Never buy health reactively at low HP; reposition first and buy health only as a buffer for upcoming elite waves.
The discipline to skip bad options is what separates players who consistently reach deep waves from those who burn cash on marginal upgrades and wonder why they stall. Cash management is a skill, not a reflex.
Survive a Million Monkeys Best Use of Cash Versus Gems
Cash and gems serve completely different purposes, but players constantly confuse them. Cash is for in-run power; gems are for permanent account progression. The best use of cash is always to extend your current run as far as possible, because deeper runs yield more gems at the end.
This creates a feedback loop: smart cash spending leads to deeper waves, deeper waves lead to more gems, and more gems unlock classes and weapon tiers that make future cash spending more efficient. If you waste cash early, you cut the loop short and slow your gem income.
| Resource | Best Use | Worst Use | Persistence |
|---|---|---|---|
| Cash | In-run damage and survivability | Buying low-impact utility | Resets each run |
| Gems | Unlocking classes and weapon tiers | Spending on temporary boosts | Permanent |
| Gem Boost | Doubling end-of-run gem rewards | Using on short, failed runs | One-time multiplier |
The gem economy guide explains how cash and gems interact across multiple runs, but the core rule is simple: never sacrifice long-term gem income for a marginal in-run cash purchase. If a cash upgrade will not meaningfully extend your run, it is not worth buying.
When a Gem Boost Beats Saving for Classes or Weapons
The gem boost is a one-time multiplier applied to your end-of-run gem rewards. It is the single most misunderstood purchase in Survive a Million Monkeys because its value depends entirely on how deep you can push the current run. A gem boost on a wave 5 death is nearly worthless; a gem boost on a wave 20 clear is a massive return.
The decision framework is straightforward. If you have a strong build that is consistently reaching wave 15 or beyond, a gem boost will multiply a large base reward and accelerate your class unlocks significantly. If you are still dying before wave 10, save your gems for a class unlock that will improve your baseline power first.
Gem boost timing matters more than most players realize. Activating the boost before a run where you already have good cash upgrade momentum means you capitalize on the compounding effect of deep waves. Activating it on a run where you are experimenting with a new build wastes the multiplier.
-
Use a gem boost when your current build reliably reaches wave 15+.
-
Save gems for class unlocks if you consistently die before wave 10.
-
Stack gem boosts with deep runs, not with experimental builds.
-
Track your average wave count before committing a boost.
The how to get gems guide covers farming strategies in detail, but the boost decision always comes back to one question: how deep can this specific run go?
Survive a Million Monkeys Best Use of Gems for Long-Term Progression
Gems are the permanent currency, and every gem spent poorly delays your access to better classes and weapon tiers. The best use of gems is almost always unlocking new classes first, because classes expand your strategic options and often come with passives that make cash upgrades more efficient.
Weapon tiers are a close second. A higher weapon tier increases your base damage, which makes every cash-based damage upgrade more valuable. This synergy is easy to overlook: a 10% cash damage boost on a tier 3 weapon is worth far more than the same boost on a tier 1 weapon.
| Gem Purchase | Long-Term Value | Immediate Impact | Priority |
|---|---|---|---|
| Class Unlock | High — new playstyles and passives | Moderate | First |
| Weapon Tier | High — scales all future cash upgrades | High | Second |
| Gem Boost | Variable — depends on run depth | High on deep runs | Situational |
| Cosmetic | None | None | Last |
The class unlock cost guide breaks down exact gem requirements for each class, which helps you plan your spending sequence. The general rule is to unlock at least two classes before investing heavily in gem boosts, because class variety gives you more tools to push deeper and earn more gems per run.
Common Cash Upgrade Mistakes That Kill Runs
Most cash upgrade mistakes are not about buying the wrong stat; they are about buying at the wrong time or ignoring the opportunity cost. The three most common errors are reactive health purchases, over-investing in utility, and neglecting movement speed entirely.
Reactive health purchases happen when you take a big hit and immediately buy max health to feel safe. The problem is that health upgrades do not prevent the next hit; they only delay the inevitable if your positioning is bad. You are better off buying movement speed and learning to dodge the elite attack patterns.
Over-investing in utility is a trap for players who want to feel clever. Cooldown reduction and utility effects sound powerful, but they only pay off if your build already has strong base damage. Buying utility before damage is like upgrading the tires on a car with no engine.
Neglecting movement speed is the silent run-killer. Players who stack pure damage often die to elite attacks they could have dodged with one movement upgrade. Movement speed is not a luxury; it is a survivability stat that also improves cash collection efficiency.
| Mistake | Why It Happens | How to Fix |
|---|---|---|
| Reactive health buys | Panic after big hits | Buy movement speed first |
| Early utility investment | Overvaluing synergy | Stack damage before utility |
| Ignoring movement speed | Underestimating dodging value | Buy one movement upgrade by wave 8 |
| Spending cash on every shop | Fear of missing out | Skip bad cycles intentionally |
The official Survive a Million Monkeys game page confirms the two-currency split: cash is spent in-run on upgrades, while gems are earned at run end by wave count and spent in the hub. This design means every cash decision ripples into your gem income, which is why disciplined spending matters more than raw game knowledge.
Frequently Asked Questions
What is the best first cash upgrade in Survive a Million Monkeys?
Damage Boost is the best first purchase because it accelerates wave clearing, which increases cash income and compounds into more upgrades later. Skipping early damage puts you behind the scaling curve and forces reactive health spending, which is a losing spiral.
Should I ever skip a cash upgrade?
Yes, skipping is often correct when the shop offers only low-impact utility upgrades. Holding cash for one or two shop cycles increases the chance that damage or attack speed appears next, and the discipline prevents wasted spending on marginal stats.
When should I use a gem boost?
Use a gem boost when your current build reliably reaches wave 15 or beyond, because the multiplier applies to a large base reward. If you consistently die before wave 10, save gems for class unlocks that improve your baseline power first.
Is movement speed worth buying with cash?
Movement speed is one of the most underrated upgrades because it enables dodging elite attacks, repositioning for better weapon coverage, and faster cash collection. A single movement upgrade often prevents more damage than a health upgrade by helping you avoid hits entirely.
What is the best use of gems overall?
Unlocking new classes is the best long-term gem investment because classes expand strategic options and often include passives that make cash upgrades more efficient. Weapon tiers are a close second, since higher base damage scales every future cash-based damage boost.