
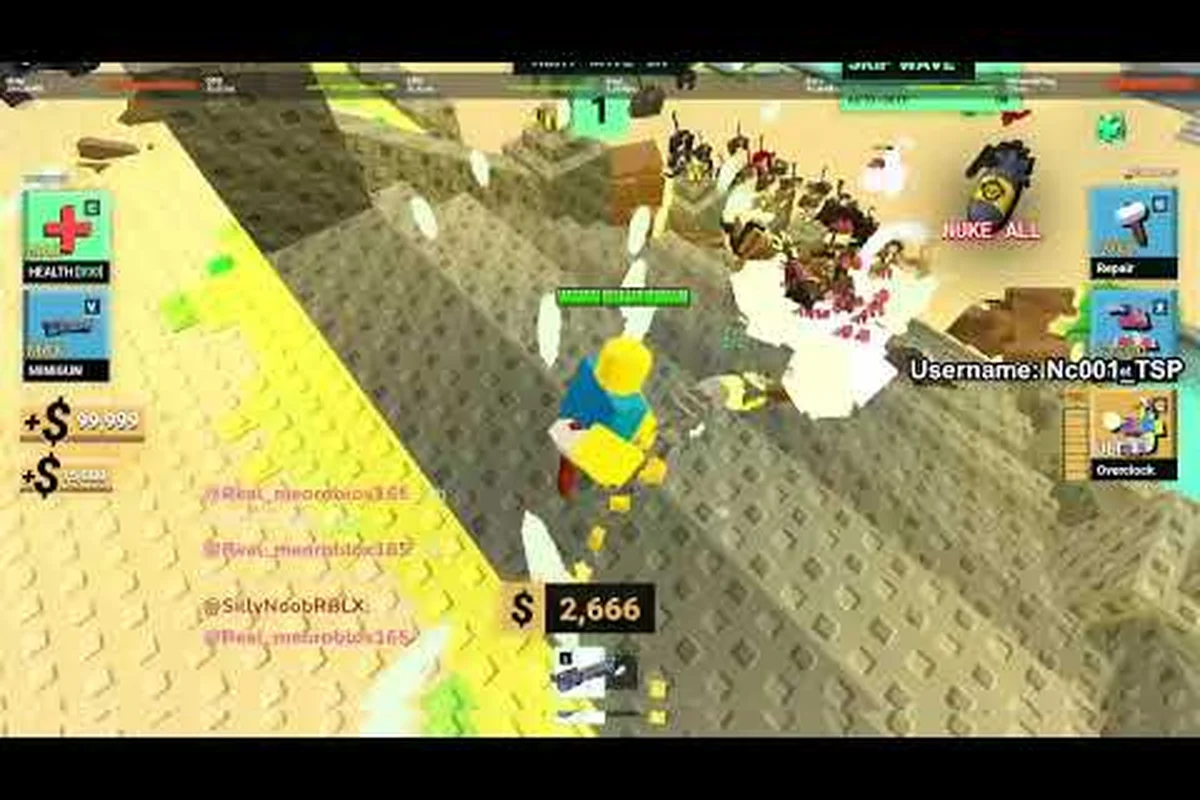
Understanding the survive a million monkeys gem economy separates players who grind endlessly from those who unlock classes and weapon tiers efficiently. The game runs on two distinct currencies that serve completely different purposes, and confusing them leads to wasted hours and stalled progression. This guide breaks down exactly how cash and gems flow through each run, when the 2x gems multiplier activates, and how to build a gem farming strategy that works without relying on codes.
How the Dual Currency System Works
Survive a Million Monkeys uses a split economy where Cash and Gems never overlap in function. Cash is the in-run currency that disappears when your run ends, while Gems are the persistent meta currency that carries over between sessions. According to the official Roblox page for Survive a Million Monkeys, the game has passed 8.2 million visits with a 96.9% positive community rating, which means the economy design has been tested by a massive player base.
The core loop works like this: you enter a run, kill waves of monkeys, earn Cash from eliminations, spend that Cash on temporary upgrades, and then convert your wave progress into Gems at run end. The conversion rate depends entirely on how deep you pushed, which creates a risk-reward tension that defines the entire survive a million monkeys gem economy.
Cash Flow During a Run
Cash accumulates rapidly during active combat but evaporates the moment you die or extract. Every monkey kill drops a small amount of Cash, with elite enemies and mini-bosses dropping significantly larger sums. The key distinction is that Cash is a tool, not a reward — it exists to make your current run stronger, not to build permanent account power.
| Cash Source | Typical Yield | Best Use |
|---|---|---|
| Standard monkey kill | 5-15 Cash | Early wave upgrades |
| Elite monkey kill | 40-80 Cash | Mid-run weapon tiers |
| Mini-boss elimination | 150-300 Cash | Late-run survivability |
| Wave completion bonus | 50-200 Cash | Stacking damage boosts |
The trap many new players fall into is hoarding Cash for a future that never arrives. Since Cash resets every run, any unspent Cash at death represents wasted potential. Experienced players treat Cash as a consumable resource that should be converted into wave-clearing power as quickly as possible.
Gem Accumulation at Run End
Gems are calculated based on your highest wave reached, not your Cash balance. This means a player who spends aggressively and reaches wave 25 will earn more Gems than a player who hoards Cash and dies at wave 15. The survive a million monkeys gem economy rewards depth over thrift, which shapes every spending decision during a run.
Gem Earning Mechanics and Wave Scaling
The relationship between wave depth and Gem rewards is not linear. Early waves produce minimal Gems, while deeper waves trigger multiplier thresholds that dramatically increase your haul. Community testing suggests that the gem-per-wave ratio improves significantly after wave 10, with another major jump around wave 20.
Wave Depth Reward Tiers
| Wave Range | Base Gems | Notes |
|---|---|---|
| 1-5 | 5-15 | Tutorial territory, minimal returns |
| 6-10 | 20-40 | First meaningful Gem income |
| 11-15 | 50-90 | Sweet spot for early farming |
| 16-20 | 100-180 | Efficient gem-per-minute zone |
| 21-25 | 200-350 | High risk, high reward |
| 26+ | 400+ | Requires optimized builds |
Players looking to get gems fast with no codes should target the wave 16-20 range as their farming sweet spot. This zone offers strong Gem returns without requiring the heavily upgraded classes and weapon tiers that deeper waves demand. Pushing past wave 20 without proper unlocks often results in death before the next reward threshold, wasting the run entirely.
The 2x Gems Multiplier
The survive a million monkeys 2x gems mechanic appears as a periodic boost that doubles your run-end Gem payout. Based on community reports, this multiplier is not always active — it typically triggers during specific events, weekend windows, or as a first-run-of-the-day bonus. The exact trigger conditions may vary by platform and version, so checking the in-game announcements before committing to a long farming session is essential.
When 2x gems is active, the optimal strategy shifts toward deeper pushes rather than quick resets. A wave 18 run with the multiplier active produces more Gems than two wave 14 runs without it, which means you should adjust your risk tolerance during boost windows. The gem farming guide covers specific route optimizations for maximizing output during these multiplier periods.
Cash Spending Priorities for Gem Optimization
Since Cash converts indirectly into Gems through wave progression, your in-run spending directly impacts your meta progression. The survive a million monkeys cash economy is really about converting temporary power into permanent rewards as efficiently as possible. Every upgrade you buy mid-run — whether it's a weapon tier, a passive stat boost, or a survivability tool — pulls from the same Cash pool that could otherwise push you deeper into higher wave brackets, where Gem payouts scale non-linearly. For example, spending 500 Cash on an early damage upgrade might let you clear wave 15 instead of stalling at wave 12, but if that same 500 Cash could have been saved toward a wave 20 unlock that triples your Gem-per-wave rate, the "cheap" upgrade actually costs you meta progression. The key is to treat Cash not as a score to maximize, but as a leverage tool: spend it only when the marginal wave gain it buys outweighs the Gem opportunity cost of not saving it.
Early Wave Spending Strategy
The first five waves should focus on damage output rather than survivability. Dead monkeys cannot damage you, and faster clears mean faster wave progression. Community data consistently shows that players who prioritize damage in early waves reach the gem-efficient zones 30-40% faster than those who invest in defense first.
| Upgrade Priority | Wave Range | Rationale |
|---|---|---|
| Base damage | 1-5 | Faster clears, earlier gem zones |
| Attack speed | 3-8 | Compounds with damage upgrades |
| Movement speed | 5-10 | Repositioning and kiting |
| Health pool | 8-12 | Surviving elite encounters |
| Armor/damage reduction | 12+ | Late-wave survivability |
The mid-game transition point is critical. Around wave 10-12, you need to shift from pure offense to a balanced build that can survive elite packs. Players who stay glass-cannon too long die to burst damage before reaching the high-value wave 16-20 gem zone.
Avoiding Cash Traps
Not all upgrades provide equal value. The trap upgrades — those that sound useful but provide marginal returns — include early armor purchases, utility skills with long cooldowns, and weapon sidegrades that don't meaningfully increase your clear speed. The cash upgrades guide breaks down which purchases actually move the needle on wave progression.
Repeatable Farming Loop Without Codes
The most reliable way to get gems fast with no codes is to build a repeatable farming loop that minimizes downtime between runs. This means optimizing both your in-run decisions and your hub-side preparation. Start by identifying which stage or game mode yields the highest gem-per-minute ratio for your current unlock tier — early players often find that rerunning shorter stages with guaranteed gem drops outperforms pushing longer, riskier clears, since a failed run returns zero currency and wastes the entire loop. On the hub side, bank any cash into upgrades that directly accelerate the next run, such as damage or movement speed boosts, rather than cosmetic or marginal purchases, so every completed cycle compounds into a faster subsequent cycle.
Pre-Run Preparation Checklist
Before starting a farming session, verify these elements: your equipped Perk Cards should align with the wave depth you plan to push, since a loadout built for early-wave cash generation (e.g., Cash Drop and Interest perks) will stall out past wave 30 where gem drops scale with elite and boss kills. If you are targeting the 2x gems window, confirm the multiplier is active on the main menu banner before spending energy on a run, because the buff applies only to gems earned after activation and does not retroactively boost a run already in progress. Finally, check that your weapon tiers and class loadout match the zone's enemy HP curve — a Tier 3 weapon clearing wave 20 efficiently will leave you under-leveled by wave 35, cutting your gem-per-hour rate sharply.
-
Confirm your class loadout matches your target wave depth
-
Check whether the 2x gems multiplier is currently active
-
Ensure your weapon tiers are upgraded to match your farming zone
-
Set a clear exit wave target based on your current power level
The preparation phase takes under a minute but consistently improves gem-per-hour output by 20-30% according to player reports, largely because each checklist item addresses a distinct failure mode that silently drains gem yield. A mismatched Perk Card set, for instance, forces you to retreat at wave 28 instead of wave 35, and since elite kills past wave 30 account for the steepest rise in gem drop scaling, that seven-wave shortfall can erase thousands of gems per session. Likewise, forgetting to confirm the 2x gems window before spending energy means an entire 40-minute run earns base-rate currency that cannot be retroactively boosted, while an under-leveled weapon tier creates the opposite problem: you survive early waves but lack the DPS to burst down bosses before their enrage timers, turning what should be a clean exit at your target wave into a premature death that forfeits all unbanked gems. Rushing into runs without checking these elements leads to premature deaths and wasted time that compounds across a farming day.
In-Run Decision Framework
During the run, every Cash purchase should serve the goal of reaching your target wave. If you are farming the wave 16-20 zone, any upgrade that helps you survive to wave 20 is worth buying. Any upgrade that does not contribute to that goal is a distraction.
| Decision Point | Action | Expected Outcome |
|---|---|---|
| Wave 1-5 | Buy damage upgrades aggressively | Faster early clears |
| Wave 6-10 | Add attack speed, start movement | Maintain clear speed |
| Wave 11-15 | Balance offense and defense | Survive elite packs |
| Wave 16-20 | Finalize build, push to target | Maximize gem payout |
| Post-target | Extract or push one more wave | Risk assessment moment |
The decision to extract versus push one more wave is where most farming runs succeed or fail. If you have already reached your target wave with healthy resources, extracting secures the guaranteed Gems. Pushing further risks losing everything for a marginal increase in payout. The gem per run breakdown provides detailed numbers on when pushing is mathematically worth the risk.
Advanced Gem Economy Optimization
Once you understand the basic loop, several advanced techniques can further improve your gem-per-hour efficiency. For example, timing your runs to overlap with the 2x gems event window multiplies every gem drop and currency pickup without requiring additional cash investment, effectively doubling your yield for identical playtime. Similarly, prioritizing gem economy upgrades over cosmetic purchases early on compounds returns, since each upgrade lowers the time-to-next-upgrade threshold and accelerates the entire farming curve. Dedicated farmers who track their per-run gems against these windows report meaningfully higher hourly averages than players who spend cash reactively.
Timing Your Farming Sessions
The survive a million monkeys gem economy has natural rhythm patterns based on server activity and event schedules. Community data suggests that peak farming efficiency occurs during the first hour after daily resets, when the 2x gems first-run bonus is most commonly available. Planning your farming sessions around these windows can double your effective Gem income without any additional effort.
Class and Weapon Synergies
Different classes interact with the gem economy differently. Classes with inherent wave-clear speed reach deeper waves faster, which translates directly into more Gems per hour. Weapon tiers function similarly — higher tiers clear faster but require more Gem investment upfront, creating a payback period that varies by class.
| Class Type | Farming Efficiency | Best Wave Target |
|---|---|---|
| Speed-focused | High | 14-18 |
| Balanced | Medium-High | 16-20 |
| Tank-focused | Medium | 18-22 |
| Glass cannon | Very High | 12-16 |
The glass cannon paradox is worth noting: while these builds clear fastest, they also die most often, which means their effective gem-per-hour may be lower than balanced builds despite higher theoretical output. Consistency matters more than peak performance in a farming context.
Gem Shop Investment Order
When spending your accumulated Gems in the hub, the order of purchases matters enormously. The gem shop guide covers the full inventory, but the core principle is simple: invest in unlocks that improve your farming speed first, then branch into variety purchases.
Priority order for most players isn't a one-size-fits-all checklist — it shifts depending on whether you're still grinding your first million monkeys cash or already sitting on a 2x gems multiplier. A player who just unlocked the hub and has 1,500 gems saved should almost never dump them into a cosmetic or a secondary class; that same 1,500 gems into a weapon tier breakpoint for their main farming class can cut a run's clear time by 20–30 seconds, which compounds across dozens of runs per hour. The reasoning is straightforward: in the survive a million monkeys gem economy, every gem you spend on faster clears returns more gems per minute, while variety purchases return zero farming speed until your primary loop is already stable. If you're unsure where you sit, ask one question before each purchase: "Does this make my next run faster, or just different?"
-
Unlock the class that best matches your farming playstyle
-
Upgrade weapon tiers for that class to their efficient breakpoints
-
Purchase permanent stat boosts that apply across all classes
-
Expand into secondary classes for variety and event participation
This compounding effect is easiest to see with a concrete example: if you spend 1,500 gems on a weapon tier breakpoint that trims 25 seconds off each run, and you're clearing 12 runs per hour, that's 5 extra minutes of farming per hour — effectively one bonus run every 60 minutes. Over a 4-hour session, those 4 extra runs each drop survive a million monkeys cash and gems, which then fund your next tier upgrade sooner. The loop tightens with every cycle: faster clears → more gems per minute → earlier access to permanent stat boosts → even faster clears. Players who ignore this order and buy cosmetics or secondary classes first don't just lose the initial gems — they forfeit the entire acceleration curve that those gems would have generated, leaving them stuck at a slower survive a million monkeys gems rate for hours longer than necessary.
Frequently Asked Questions
How do I get gems fast in Survive a Million Monkeys without using codes?
Focus on reaching wave 16-20 consistently, since this zone offers the best gem-per-minute ratio for most players. Spend Cash aggressively on damage upgrades in early waves to reach this zone faster, and time your farming sessions during 2x gems windows when possible.
What is the difference between Cash and Gems in Survive a Million Monkeys?
Cash is the in-run currency that resets after every death or extraction, used exclusively for temporary upgrades during a run. Gems are the persistent meta currency earned at run end based on wave depth, spent in the hub to unlock classes and weapon tiers.
When does the 2x gems multiplier activate in Survive a Million Monkeys?
The 2x gems multiplier typically appears during specific event windows, weekend periods, or as a first-run-of-the-day bonus. The exact trigger conditions may vary by platform and version, so checking in-game announcements before starting a farming session is recommended.
What is the best wave to farm for gems in Survive a Million Monkeys?
The wave 16-20 range offers the best balance of risk and reward for most players. This zone produces 100-180 base Gems per run without requiring the heavily optimized builds that deeper waves demand, making it the most efficient farming target for intermediate players.
Should I spend all my Cash during a run or save some for later waves?
Spend Cash aggressively throughout the run, since any unspent Cash disappears when the run ends. The only exception is holding a small reserve for critical survival upgrades when approaching elite encounters, but hoarding Cash for theoretical future purchases is always a mistake.