
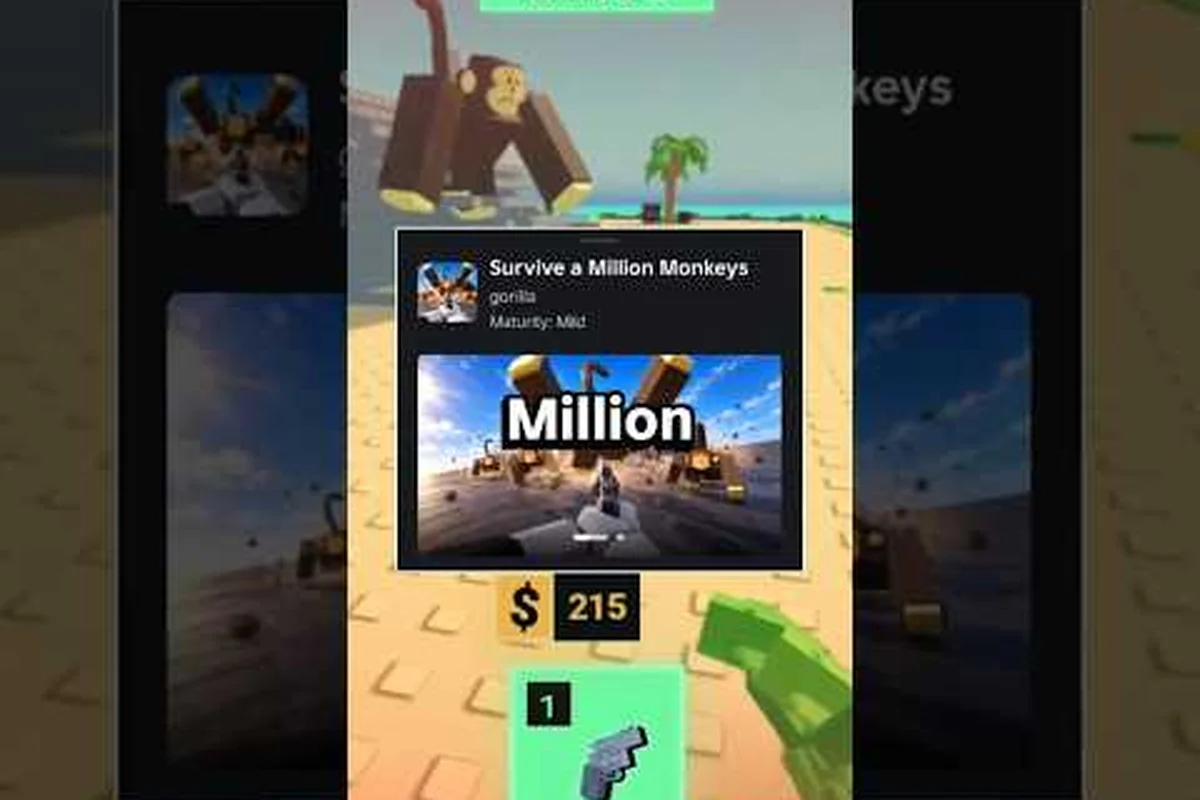
The exact survive a million monkeys max players limit is 4 players in a single co-op squad, which means every run ends only when the entire party wipes. That one mechanic reshapes how you build comps, revive fallen teammates, and decide whether a private server is worth the Robux. Understanding the cap before you queue prevents wasted slots and teaches you which team strategy actually pushes deeper.
How the Party Cap Shapes Every Run
The core design rule in Survive a Million Monkeys is blunt: you can bring up to 4 players into a single co-op instance, and the run does not end until the whole squad dies. That means a solo player has zero safety net, while a full four-player party gains three extra lives in the form of revives, role coverage, and split aggro. According to the official Roblox game page, the title has passed 8.2 million visits and 166,000 favorites, with a 96.9% positive community rating and a peak of roughly 38,614 concurrent players. Those numbers tell you the multiplayer loop is the main draw, not a side mode.
The revive system is what makes the max player count feel generous rather than restrictive. When one teammate drops, another can pull them back up before the squad wipe triggers. Because the run only ends on a full party death, a coordinated group can chain revives through multiple bad waves. Solo players lose that entire layer, which is why the community consistently reports that duo and trio runs feel dramatically easier than solo attempts. The four-player cap also forces hard choices: you cannot stack every role, so someone has to flex.
| Party Size | Revive Safety Net | Aggro Split | Ideal For |
|---|---|---|---|
| 1 player | None | 100% on you | Challenge runs, solo practice |
| 2 players | 1 revive chain | 50/50 | Duo synergy, Medic + DPS |
| 3 players | 2 revive chains | Split across 3 | Balanced comps, first clears |
| 4 players | 3 revive chains | Max split | Full party pushes, late waves |
The table above explains why most players treat the max player count as a target, not a ceiling. A full party does not simply add damage; it multiplies survivability through revive chains and role overlap. When you understand that the run only ends on a squad wipe, every additional teammate becomes a form of insurance. That insurance is why experienced groups rarely queue below three players for serious progression attempts.
Survive a Million Monkeys Private Server Cost and Setup
A private server in Survive a Million Monkeys lets you lock the lobby to friends, control who joins, and practice team strategy without randoms interrupting the flow. The exact survive a million monkeys private server cost depends on the standard Roblox pricing model, which typically charges a monthly Robux fee for private server access on most games. Because the developer has not posted a custom price on the official page, players report that the cost follows the common 100 Robux per month baseline, though this can shift with platform promotions or developer updates.
Setting up a private server is straightforward, but the value depends entirely on how often you run full parties. If you regularly play with three friends, the monthly fee buys a stable testing ground for comps like Medic + Engineer without public lobby variance. If you mostly solo queue, a private server is wasted Robux. The server guide logic is simple: private lobbies shine when you need controlled repetitions of the same wave, not when you want fast matchmaking.
| Private Server Feature | Public Lobby Equivalent | Value for Full Party |
|---|---|---|
| Locked friend slots | Random matchmaking | High for coordinated runs |
| Controlled wave resets | Forced public restarts | High for strategy testing |
| No random teammate variance | Mixed skill levels | Medium for consistency |
| Monthly Robux cost | Free | Low for solo players |
The private server cost question really comes down to how often you assemble a four-player squad. Community data suggests that groups who push late waves together get the most return, because they can reset instantly after a wipe and try a different role split. Solo players and casual duos rarely need the controlled environment. Before you spend Robux, ask whether your team actually uses the same lobby more than twice a week.
Best Team Strategy for a Full Party
The strongest team strategy for a full four-player party revolves around role coverage and revive priority, not raw damage. Because the run only ends on a squad wipe, keeping the reviver alive matters more than killing the next wave faster. The most consistent community-reported comp is Medic + Engineer + two damage dealers, where the Medic focuses on revive speed and the Engineer locks down chokepoints. This setup gives you three revive chains and enough wave clear to avoid getting overrun.
The reason this comp works at the max player count is layered. The Medic extends every revive window, which means a bad wave does not snowball into a wipe. The Engineer creates safe zones where the Medic can operate without taking aggro. The two damage dealers split focus between elite targets and trash clear. When one damage dealer falls, the other holds the line while the Medic revives. That loop is why full parties consistently outlast smaller squads in late waves.
| Role | Primary Job | Key Strength | Weakness |
|---|---|---|---|
| Medic | Revive speed, sustain | Extends squad life | Low personal damage |
| Engineer | Chokepoint control | Creates safe zones | Setup time required |
| Damage Dealer | Elite focus, wave clear | High burst output | Squishy if focused |
| Flex | Fill gaps, peel for Medic | Adaptable coverage | Requires game knowledge |
The flex slot is where most parties fail. A full four-player squad needs someone who can switch between peeling for the Medic and helping the Engineer hold a lane. Players who lock into a rigid damage role often leave the backline exposed, which leads to a Medic death and then a cascade wipe. The best team strategy treats the fourth slot as a roaming responder, not a third damage dealer. If you are still learning how to coordinate a full squad, the squad survival fundamentals guide breaks down role timing and revive chains in more detail.
Solo vs Duo vs Full Party: What Actually Changes
The difference between solo, duo, and full party runs is not just damage output; it is the number of mistakes you can absorb. A solo player dies once and the run is over. A duo can survive one mistake if the partner reaches the downed player in time. A full four-player party can absorb three sequential mistakes, provided the Medic stays alive. That survivability gap is why the max player count feels like a difficulty selector even though the wave scaling stays the same.
Wave scaling does not appear to increase with party size in the same way some co-op games do. Community testing suggests that enemy density stays consistent whether you bring one player or four, which means a full party is strictly stronger. The only real downside is coordination overhead: four players who split up and fight alone are worse than one focused solo player. When the party moves together and revives on time, the run becomes dramatically easier.
| Run Type | Mistake Tolerance | Clear Speed | Coordination Required |
|---|---|---|---|
| Solo | 0 mistakes | Slow | None |
| Duo | 1 revive chain | Moderate | Low |
| Trio | 2 revive chains | Fast | Medium |
| Full Party | 3 revive chains | Fastest | High |
The coordination requirement is the hidden cost of a full party. Four players who talk over each other and revive at the wrong time will wipe faster than a disciplined duo. That is why the teamwork tips for playing together emphasizes callout discipline and revive order over raw mechanical skill. The best full party is not four strong solo players; it is four players who understand their role in the revive chain.
How to Set Up Your First Full Party Run
Before you queue with four players, lock down the basics: friend requests sent, party leader assigned, and a shared understanding of who revives first. The party leader should be the player with the most stable connection, because a host disconnect ends the run for everyone. Once the lobby is full, the leader should confirm the role split before the first wave, not after the first death. A 30-second pre-run check prevents most early wipes.
The revive order is the single most important callout. When two players drop at the same time, the Medic revives the Engineer first, because the Engineer can immediately re-establish a safe zone. If the Medic drops, the nearest damage dealer stops DPS and revives immediately. That priority chain keeps the squad alive through bad waves. If you need a deeper breakdown of how to invite friends and lock in a lobby, the guide to playing with friends covers the setup flow step by step.
| Setup Step | What to Do | Why It Matters |
|---|---|---|
| Send friend requests | Add all three teammates | Required for private lobbies |
| Assign party leader | Pick the most stable host | Prevents host-disconnect wipes |
| Confirm role split | Medic, Engineer, 2 DPS | Locks revive priority |
| Set revive order | Medic > Engineer > DPS | Prevents cascade wipes |
| Start first wave | Move as a group | Avoids early split deaths |
Once the run starts, the party leader should call wave transitions and revive windows. The Medic calls when they are going for a revive, so the Engineer knows to hold the chokepoint. The damage dealers call elite spawns so the flex player can peel. That callout loop is what separates a clean full-party clear from a chaotic wipe. The party guide principle is simple: talk before you act, and revive before you DPS.
Frequently Asked Questions
What is the exact survive a million monkeys max players limit?
The exact limit is 4 players per co-op squad. The run only ends when the entire party dies, which means a full squad gets three revive chains before a wipe. Solo runs have zero safety net, while duos and trios fall between those extremes.
How much does a private server cost in Survive a Million Monkeys?
The private server cost follows the standard Roblox baseline of roughly 100 Robux per month, though the developer has not posted a custom price on the official page. Community reports suggest the cost can shift with platform promotions, so check the server purchase screen for the current rate.
Is a full four-player party always better than solo?
Not always. A full party is strictly stronger on paper because wave scaling stays consistent, but coordination overhead can cause faster wipes if the group splits up. A disciplined duo often clears more reliably than a chaotic four-player squad that ignores revive order.
What is the best team comp for a full party?
The most consistent community-reported comp is Medic + Engineer + two damage dealers, with one damage slot flexing to peel for the Medic. The Medic extends revive windows, the Engineer holds chokepoints, and the flex player responds to elite spawns or backline pressure.
Can I play Survive a Million Monkeys solo?
Yes, solo play is fully supported, but the difficulty spikes hard because you lose all revive chains. Solo runs are best for practice and challenge attempts, not progression. Most players report that duo or trio runs feel significantly more forgiving than solo attempts.
The max player cap of four is not a limitation; it is the core design pressure that makes revive chains and role coverage matter. Whether you spend Robux on a private server depends on how often you assemble a full squad, and the best team strategy always prioritizes keeping the Medic alive over raw damage. Lock your roles, set your revive order, and the four-player limit becomes an advantage instead of a ceiling.