
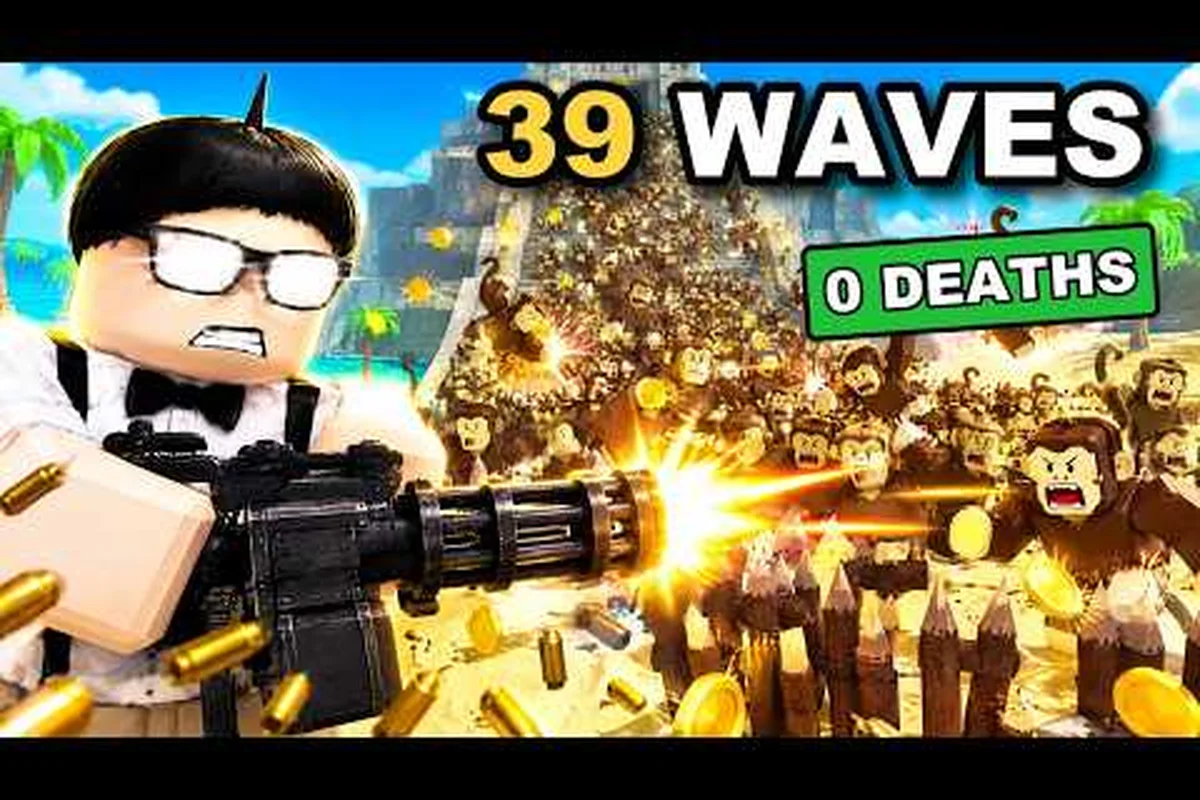
Coordinated squads push deeper into Survive a Million Monkeys than solo players ever will, because the run only ends when the entire party dies. These survive a million monkeys teamwork tips show you how to play together effectively, from sending a friend request to locking in the best party size for online play.
How the Multiplayer Mode Rewards Coordination
Survive a Million Monkeys supports co-op squads of up to four players, and the official Roblox page confirms that a run continues as long as at least one teammate remains standing. That single mechanic changes every decision your group makes, because a downed player is not a failed run but a recoverable setback. The game has passed 8.2 million visits and holds a 96.9 percent positive community rating, which means the multiplayer mode is not an afterthought but the core experience most players engage with.
The revive system creates natural pressure points where teamwork either shines or collapses. When a teammate goes down, the remaining players must decide whether to hold position, kite the monkey swarm away, or commit to a rescue. A coordinated squad assigns that decision before the run starts, so nobody hesitates mid-fight. Community reports consistently describe hesitation as the fastest way to lose a deep run, because the swarm punishes stationary players harder than moving ones.
Your squad composition also shifts how the revive mechanic plays out. A Medic role can stabilize downed allies faster, while an Engineer can deploy barriers that buy the seconds needed for a rescue. The official page highlights comps like Medic + Engineer as examples of how team roles change run depth, which suggests the developers built the multiplayer mode around deliberate role selection rather than four players doing the same thing.
The table below breaks down how each squad size changes the revive dynamic and overall pressure. A duo faces the sharpest trade-off: one downed player instantly halves your firepower, so a Medic + Damage split means the Medic must often choose between finishing the revive or clearing the monkeys already chewing through the last barricade. A three-player squad softens that dilemma because two survivors can cover a rescue without abandoning the lane entirely, which is why the recommended Medic + Engineer + Damage comp works so well — the Engineer drops a barrier to wall off the swarm while the Medic completes the revive and the Damage player thins the horde. At four players, the revive itself becomes almost trivial, but the swarm density peaks, so the real pressure shifts from saving teammates to maintaining enough sustained DPS to avoid getting overrun in the first place.
| Squad Size | Revive Pressure | Swarm Scaling | Recommended Role Split |
|---|---|---|---|
| 2 Players | High, one downed player halves firepower | Moderate | Medic + Damage |
| 3 Players | Medium, two can cover a rescue | Noticeable | Medic + Engineer + Damage |
| 4 Players | Low, three can hold while one revives | High, swarm density peaks | Medic + Engineer + 2 Damage |
The key takeaway is that adding players does not automatically make the run easier, because the swarm scales up to match your squad. A four-player team that ignores roles will struggle more than a disciplined duo, which is why these survive a million monkeys teamwork tips emphasize planning over raw headcount.
Sending a Friend Request and Joining Friends
Before you can play together, every squad member needs to be on the same Roblox friends list. The friend request flow in Survive a Million Monkeys follows the standard Roblox social system, but new players often miss the in-game step that makes joining seamless. You send a friend request from the Roblox profile page, then accept it before launching the game, because pending requests do not always sync while a session is active.
Once everyone is connected, the join friends option appears in the game's party menu. The host creates a lobby, and the other players use the join friends button to drop into that lobby directly. This step matters because random matchmaking does not guarantee you land in the same squad, especially during peak hours when the game has seen around 38,614 concurrent players. A private lobby bypasses that uncertainty entirely.
The sequence below walks through the full setup from first contact to in-game squad. Because the join friends button only activates when Roblox's presence API confirms a mutual friendship, the order of operations matters more than most players expect: a pending request that sits unaccepted while the game is already running will not retroactively unlock the party menu, and the host's lobby can fill with random matchmaking players before your fourth teammate ever sees the option appear. Working through the steps in the exact order below avoids the most common stall point — three players idling in a private lobby while the fourth restarts the client to force a friends-list refresh.
-
Open the Roblox profile of the player you want to add and send a friend request.
-
Have that player accept the request from their notifications or friends tab.
-
Launch Survive a Million Monkeys and have one player create a lobby.
-
The remaining players open the party menu and select the join friends option.
-
Confirm all four names appear in the lobby before starting the run.
A common failure point is launching the game before the friend request is accepted, which leaves the join friends button grayed out. If that happens, close the game, confirm the friendship on the Roblox site, and relaunch. The process takes less than a minute once everyone knows the order, and it prevents the frustrating scenario of three players waiting in a lobby while the fourth sits in a separate instance.
Choosing the Best Party Size for Online Play
The best party size for online play depends on what your squad wants to achieve, but community data points to three players as the sweet spot for most groups. A trio gives you enough firepower to clear waves while leaving room for one dedicated support role, and the swarm scaling at three players feels manageable compared to the density spike at four. Duos work well for experienced pairs who know each other's movement patterns, while full squads shine when everyone commits to a specific role.
The table below distills community-reported trade-offs for each party size into a quick reference, so you can see at a glance how swarm scaling, role flexibility, and revive coverage shift as your squad grows. The "difficulty feel" column is especially telling: duo runs register the easiest swarm density but leave almost zero margin for a downed teammate, while four-player lobbies spike enemy counts hard enough that the extra revive options often arrive too late to matter.
| Party Size | Difficulty Feel | Role Flexibility | Best For |
|---|---|---|---|
| 2 Players | Easiest swarm, least room for error | One flex role | Experienced duos, learning runs |
| 3 Players | Balanced pressure | Two flex roles | Most squads, progression pushes |
| 4 Players | Hardest swarm, most revive options | Three flex roles | Coordinated teams, deep runs |
Four-player squads unlock the most complex strategies, because you can run a full Medic + Engineer + two Damage composition without sacrificing coverage. However, the swarm density at four players punishes any teammate who wanders off alone, so the extra headcount only pays off if everyone sticks to the plan. A three-player squad can afford one player making a mistake, while a four-player squad often cannot.
If you are still deciding how many people to invite, the multiplayer party guide covers squad size limits and private server options in more detail. The short version is that three players offer the best balance of survivability and coordination overhead for most groups learning to play together.
Role Assignments That Keep Squads Alive
Assigning roles before the run starts transforms a group of four individuals into a functioning squad. The two support roles mentioned on the official page, Medic and Engineer, anchor most successful compositions, but the damage players also need defined responsibilities. A squad without roles tends to cluster on the same target, which leaves flanks open and wastes burst damage on low-priority monkeys.
The Medic focuses on revive speed and positioning, staying close enough to reach downed allies without standing in the swarm. The Engineer controls space with barriers or deployables, creating safe pockets where the Medic can work. The two damage players split the field, with one handling the main swarm push while the other clears stragglers that slip past the Engineer's zone.
The table below outlines a sample role rotation for a four-player squad during a typical wave. This rotation is not static — it shifts as the wave progresses from the opening spawn burst to the mid-wave lull and finally the cleanup phase, because a Medic who stays glued to the back line during cleanup wastes revive potential on a squad that is no longer taking heavy damage. For example, during the opening burst, Damage 1 holds the front while the Engineer drops a barrier at the primary chokepoint; by mid-wave, Damage 2 rotates to assist the Engineer with priority-target fire, and the Medic edges forward to chip damage on monkeys that have already been softened. A common mistake in survive a million monkeys teamwork tips discussions is treating the table as a fixed formation rather than a living rotation — squads that swap responsibilities mid-wave based on spawn pressure and downed-player timing consistently clear deeper runs than squads that hold formation until someone dies.
| Role | Primary Task | Secondary Task | Positioning |
|---|---|---|---|
| Medic | Revive downed allies | Chip damage on nearby monkeys | Behind the front line, near cover |
| Engineer | Deploy barriers and control chokepoints | Support fire on priority targets | Mid-field, near deployable zones |
| Damage 1 | Clear the main swarm push | Peel monkeys off the Medic | Front line, mobile |
| Damage 2 | Eliminate flankers and stragglers | Assist Damage 1 on burst phases | Wing position, covering sides |
Rotating roles between runs helps every squad member understand the full picture, which makes callouts sharper and reduces panic when someone goes down. A player who has only ever played damage will not know how long a revive takes, but a player who has spent a run as Medic will instinctively protect the person attempting the rescue. That shared understanding is what separates squads that clear deep runs from squads that wipe on wave three.
Communication Habits That Prevent Wipes
Voice chat is the fastest way to coordinate, but even text callouts work if your squad agrees on a simple vocabulary before the run starts. The most important callouts are downed, reviving, swarm left, and swarm right, because those four phrases cover the majority of split-second decisions. A squad that uses consistent callouts spends less time explaining and more time shooting.
The revive callout deserves special attention, because it triggers a chain of decisions for the rest of the team. When a player says downed, the Medic should immediately call reviving or cannot reach, and the damage players should either hold the line or fall back to cover the rescue. Without that sequence, three players might all rush to revive the same teammate, leaving the swarm completely unchecked.
The list below summarizes the callout habits that high-performing squads report using most often, based on patterns observed across dozens of four-player runs where a single missed phrase was the difference between a clean extraction and a full wipe. These habits emerged because the game's swarm AI punishes hesitation harder than poor aim: when a swarm left callout arrives two seconds late, the left-side player has already been surrounded by simian rushers and the squad burns a medkit or loses a downed teammate before the revive chain can even start. Treat the list as a shared contract — every player who commits to the same vocabulary removes one more variable from fights where the monkey king can spawn behind you without warning.
-
Call downed immediately, including your position relative to the squad.
-
Confirm reviving before moving to a downed ally, so only one player commits.
-
Use directional callouts like swarm left instead of vague warnings.
-
Announce barrier down when the Engineer's deployable expires.
-
Call rotating when you are moving positions, so the squad adjusts spacing.
The goal is not to narrate every action but to share only the information that changes what your teammates should do next. Squads that over-communicate drown out critical callouts, while squads that under-communicate lose players to avoidable mistakes. Finding that middle ground takes a few runs, but the improvement in survivability is immediate once everyone commits to the same vocabulary.
Common Teamwork Mistakes and How to Fix Them
Most squad wipes in Survive a Million Monkeys come from the same handful of mistakes, and nearly all of them are fixable with a short pre-run conversation. The most damaging habit is solo pushing, where one player chases a high-value target or a loot drop while the rest of the squad holds position. The swarm punishes isolated players hard, and a downed player far from the group is often unreachable without sacrificing the entire run.
Another frequent mistake is role overlap, where two players both try to fill the same function and leave another function uncovered. This happens most often with healing, because a squad without a designated Medic will have multiple players attempting revives while nobody clears the swarm. Assigning roles before the run starts eliminates that confusion, because everyone knows exactly what they are responsible for.
The table below lists the most common teamwork failures and the simple fixes that address them. Each mistake maps to a specific moment in a run where the swarm's pressure spikes — for example, solo pushing typically happens during loot drops or elite spawns, when one player breaks formation to chase a high-value target and the rest of the squad loses barrier coverage from the Engineer. The fixes work because they convert reactive panic into pre-agreed triggers: a callout before leaving formation, a role assignment made in the lobby, and a downed call timed to the instant a health bar empties. Squads that drill these responses before the first swarm wave spend less time arguing mid-fight and more time holding the zone together.
| Mistake | Why It Happens | Fix |
|---|---|---|
| Solo pushing | Chasing loot or kills | Agree that nobody leaves the formation without a callout |
| Role overlap | No pre-run assignment | Assign roles in the lobby before starting |
| Late revive calls | Tunnel vision during fights | Practice calling downed the instant it happens |
| Ignoring the Engineer's zone | Not understanding barrier value | Rotate roles so everyone plays Engineer once |
| Over-rotating | Panic when swarm shifts | Hold positions unless a callout says otherwise |
The fix for most of these mistakes is not mechanical skill but discipline, which is why squads that play together regularly improve faster than groups that rotate members constantly. A stable squad develops shared instincts, and those instincts replace the need for constant callouts over time. If your group is still learning the basics, the beginner guide covers the core survival mechanics that every role depends on.
Building a Squad That Sticks Together
Long-term squad success depends on more than individual skill, because Survive a Million Monkeys rewards teams that develop consistent habits over many runs. The strongest squads tend to play with the same two to four people repeatedly, which builds the unspoken coordination that no amount of callouts can replace. If you are forming a new group, prioritize players who communicate clearly and stay calm under pressure over players with the highest individual damage numbers.
The official Roblox page for Survive a Million Monkeys confirms that the game's co-op design supports up to four players and that the run only ends when the whole squad dies, which means every teammate you add is a potential safety net. That safety net only works if the squad trusts each other enough to commit to rescues, and trust comes from repeated runs with the same group.
The table below summarizes what to look for when building a squad from scratch, but the traits listed are not just a hiring checklist — they are the difference between a group that reaches wave 20 and one that wipes on wave 8 because nobody called out the flanking swarm. When you evaluate a potential teammate, run two or three short sessions instead of one long one, since a player's true revive habits and callout consistency only emerge after the first wipe. Pay special attention to how they handle the revive mechanic under swarm pressure, because a teammate who hesitates to commit to a rescue when monkeys are closing in will cost you more runs than a teammate with slightly lower damage output. The five traits below map directly to the failure modes that end most public-lobby runs, so treat each row as a pass/fail gate rather than a sliding scale.
| Trait | Why It Matters | How to Test It |
|---|---|---|
| Clear communication | Prevents revive confusion | Run a few waves and listen for callouts |
| Calm under pressure | Reduces panic wipes | Watch how they react to a downed teammate |
| Role flexibility | Allows rotation and coverage | Ask them to try a support role |
| Consistency | Builds shared instincts | Play multiple runs together |
| Situational awareness | Catches flankers early | See if they notice swarm shifts without callouts |
A squad that checks all five boxes will push deeper than a group of individually skilled players who never develop chemistry. The game's design rewards that chemistry explicitly, because the revive mechanic and swarm scaling both favor teams that move as a unit. If you are looking for more specific strategies for coordinated play, the co-op strategy guide breaks down advanced team tactics for deeper runs.
Frequently Asked Questions
What is the best party size for Survive a Million Monkeys online play?
Three players is the best party size for most squads, because it balances swarm scaling with role flexibility. A trio can run a Medic, Engineer, and damage dealer without overloading coordination, while four-player squads face denser swarms that punish mistakes harder. Duos work for experienced pairs.
How do I send a friend request to play Survive a Million Monkeys together?
Open the player's Roblox profile and send a friend request from there. Once they accept, launch the game and have one player create a lobby. The other players then use the join friends option in the party menu to enter the same lobby before starting the run.
Why can't I join my friends in Survive a Million Monkeys?
The most common cause is an unaccepted friend request, which leaves the join friends button grayed out. Close the game, confirm the friendship on the Roblox site, and relaunch. Pending requests do not always sync while a session is active, so complete the friend request before launching.
Does Survive a Million Monkeys have a multiplayer mode?
Yes, the game supports co-op multiplayer for up to four players. The run only ends when the entire squad dies, so a downed teammate can be revived as long as one player remains standing. The official page confirms this co-op design and highlights role-based compositions like Medic plus Engineer.
What roles should my squad use in Survive a Million Monkeys?
A balanced squad runs a Medic for fast revives, an Engineer for barriers and space control, and one or two damage players to clear the swarm. Assign roles before the run starts so nobody overlaps, and rotate roles between runs so every player understands each position's responsibilities.